Crop Video & Photo: Why It Matters
A stray elbow at the edge, a messy shelf in the background, a square ad that must become vertical—every story has its rough edges. Cropping video (and cropping photo) solves all that: you can remove distractions, reframe a scene, or switch between vertical and horizontal in a click. A clean frame feels intentional. (And intention sells.)
Use our browser-based video editor and video maker on any device—iPhone, Mac, PC, Android, Windows, Linux—without downloads, installs, registrations, or watermarks. Upload any media format you like: video, audio, image… it all works.
- How to crop video and crop photo edges
- How to change format: vertical ↔ horizontal
- How to fit, fill, or stretch content precisely (no guesswork)
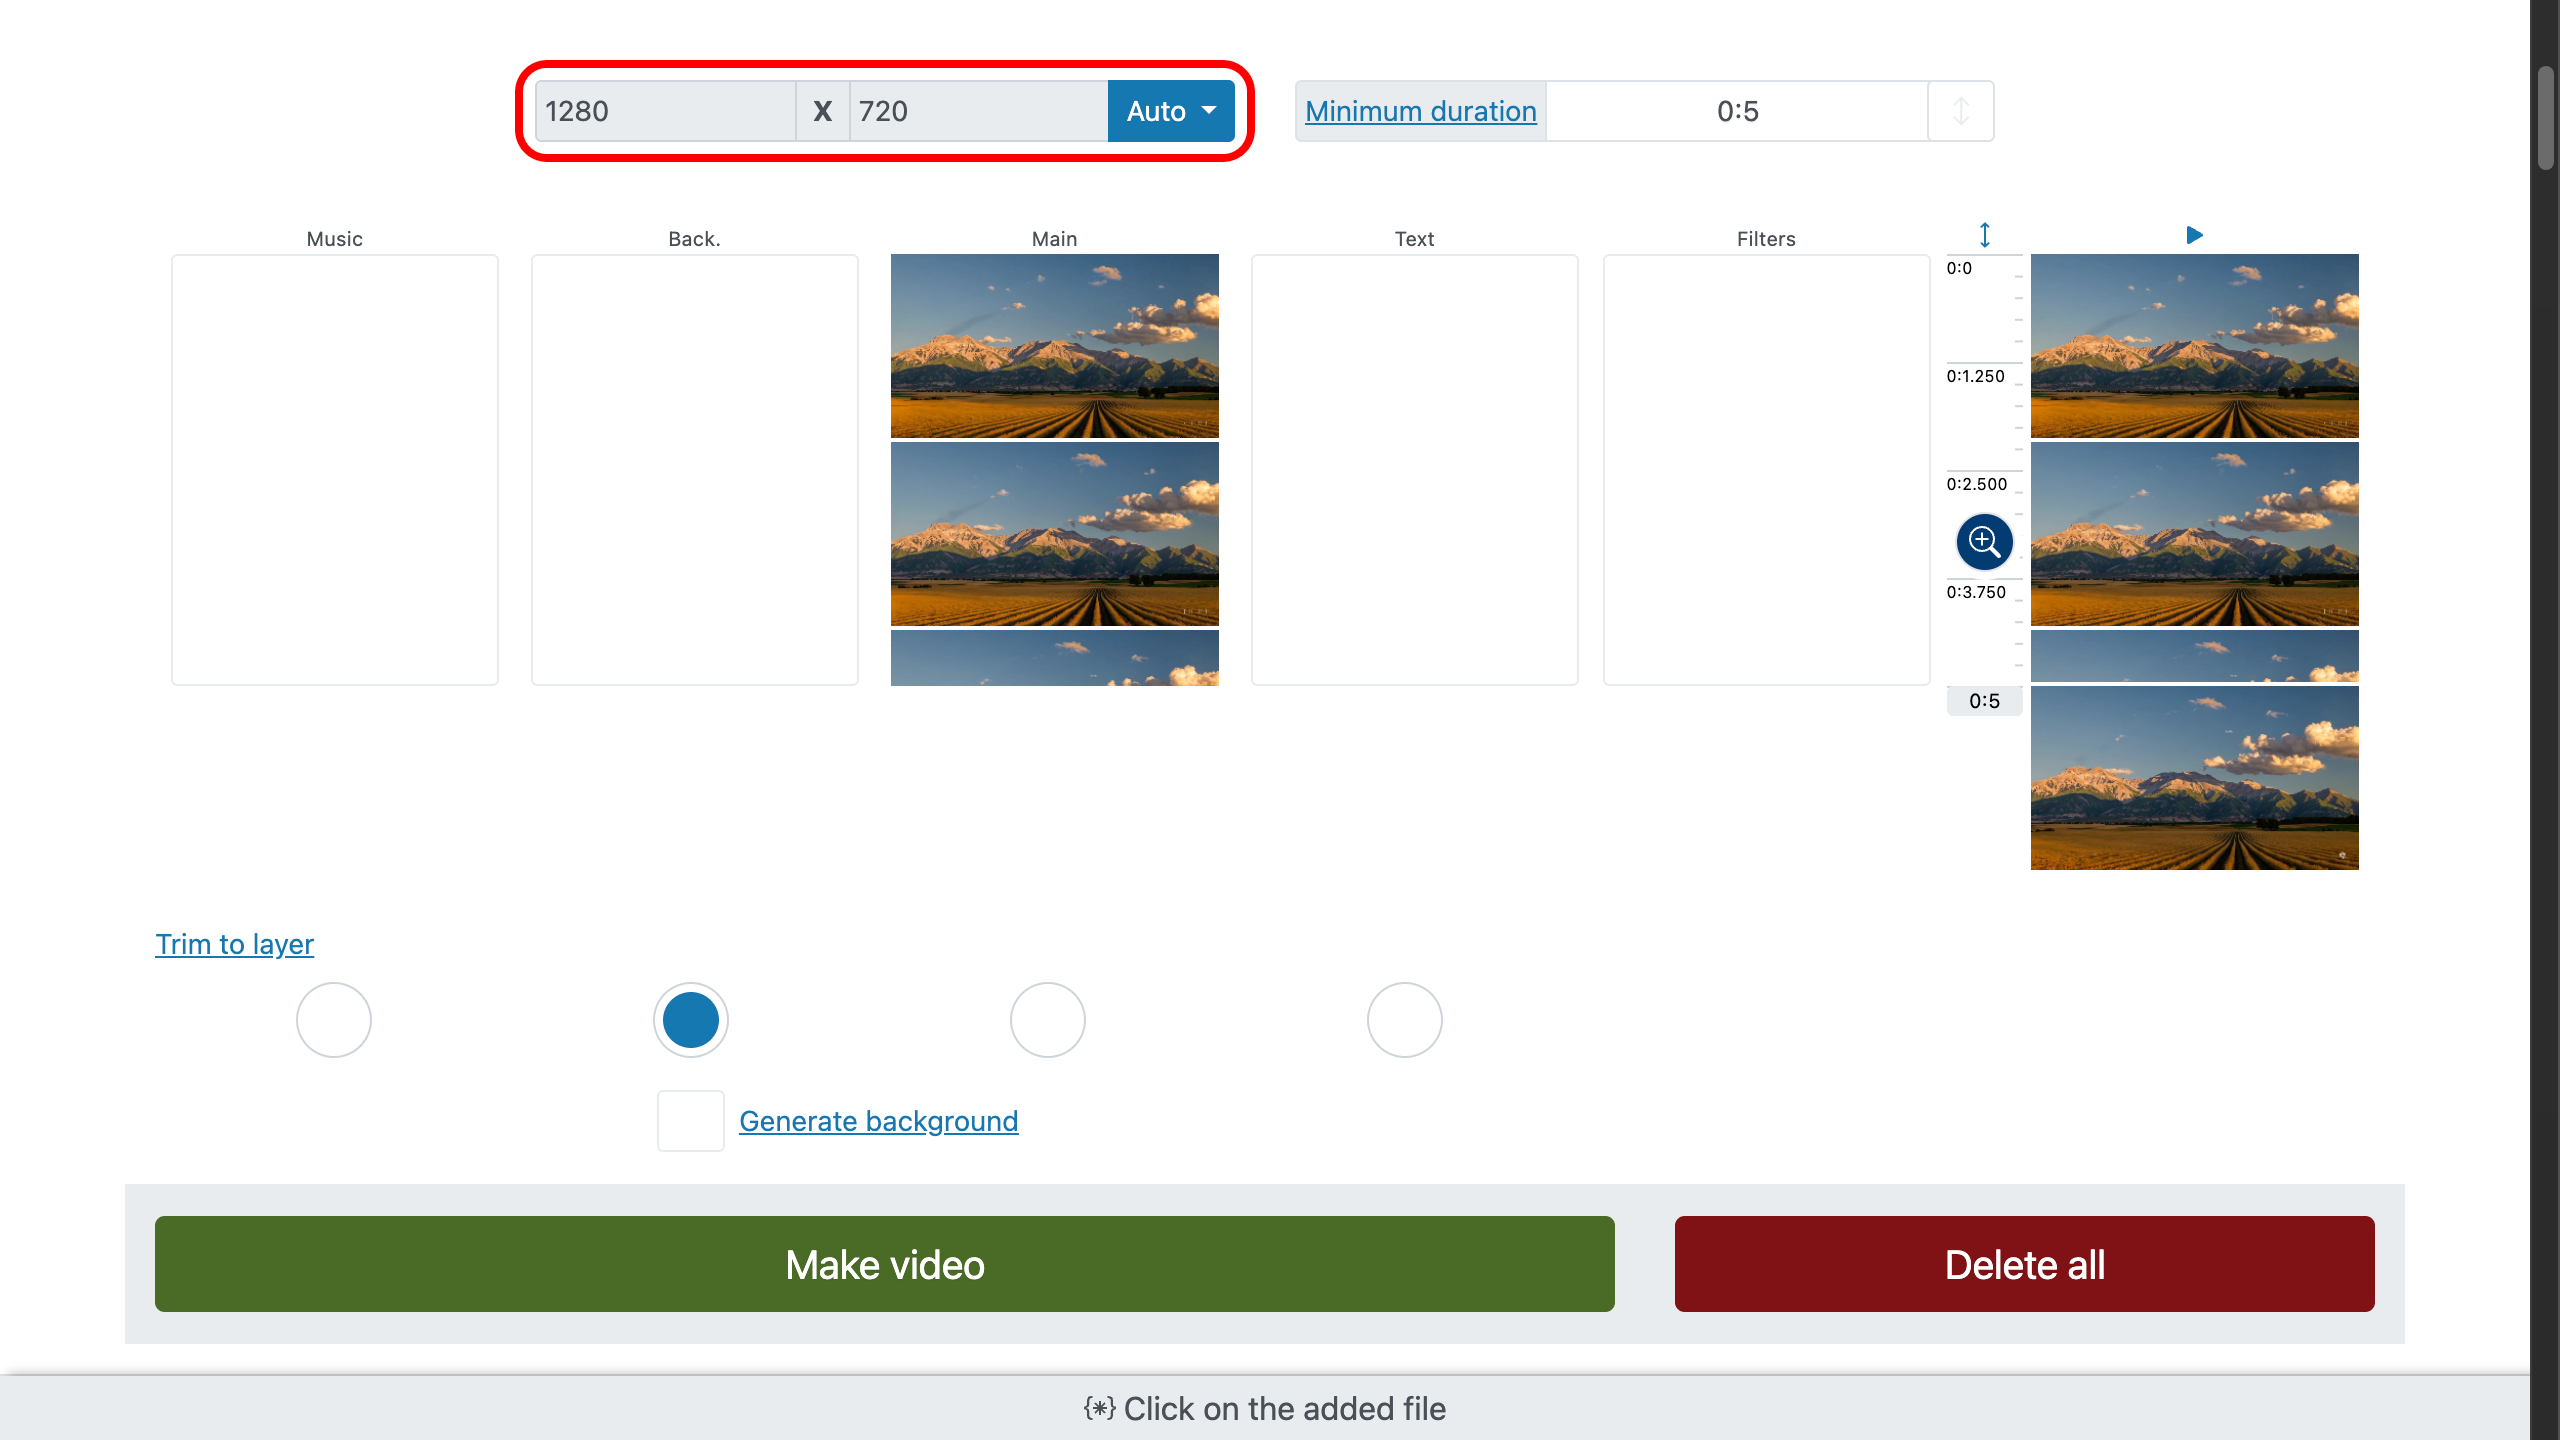
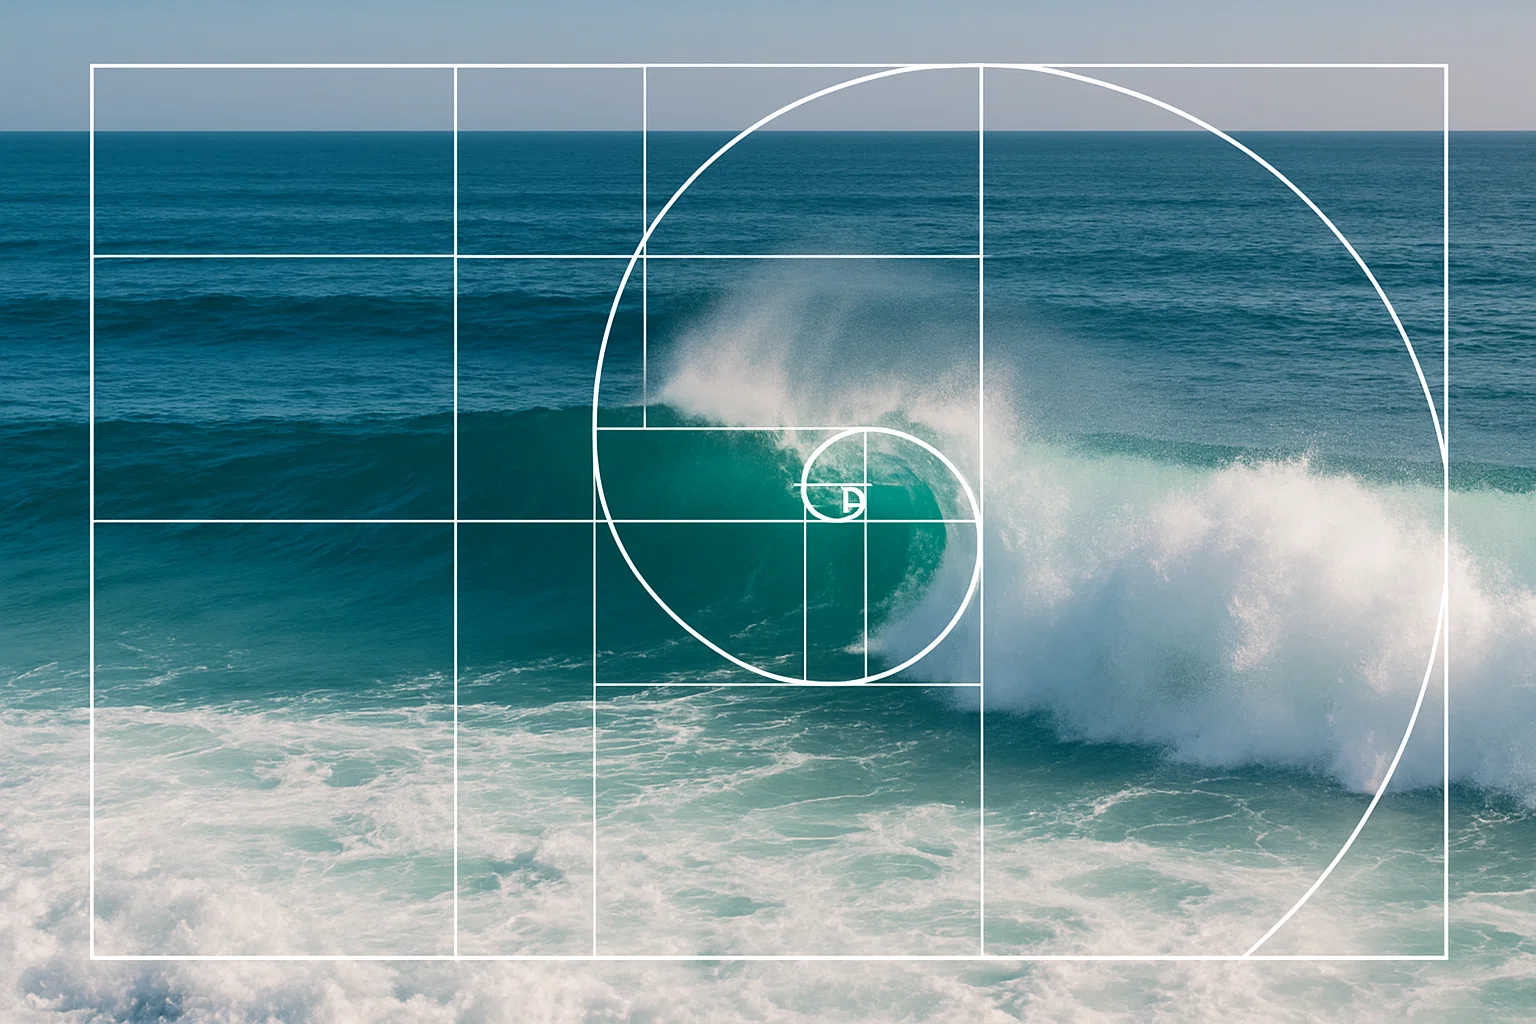
To demonstrate cropping, we’ll use a beautiful sunset landscape with a slightly shifted center and trim the edges to improve the composition.
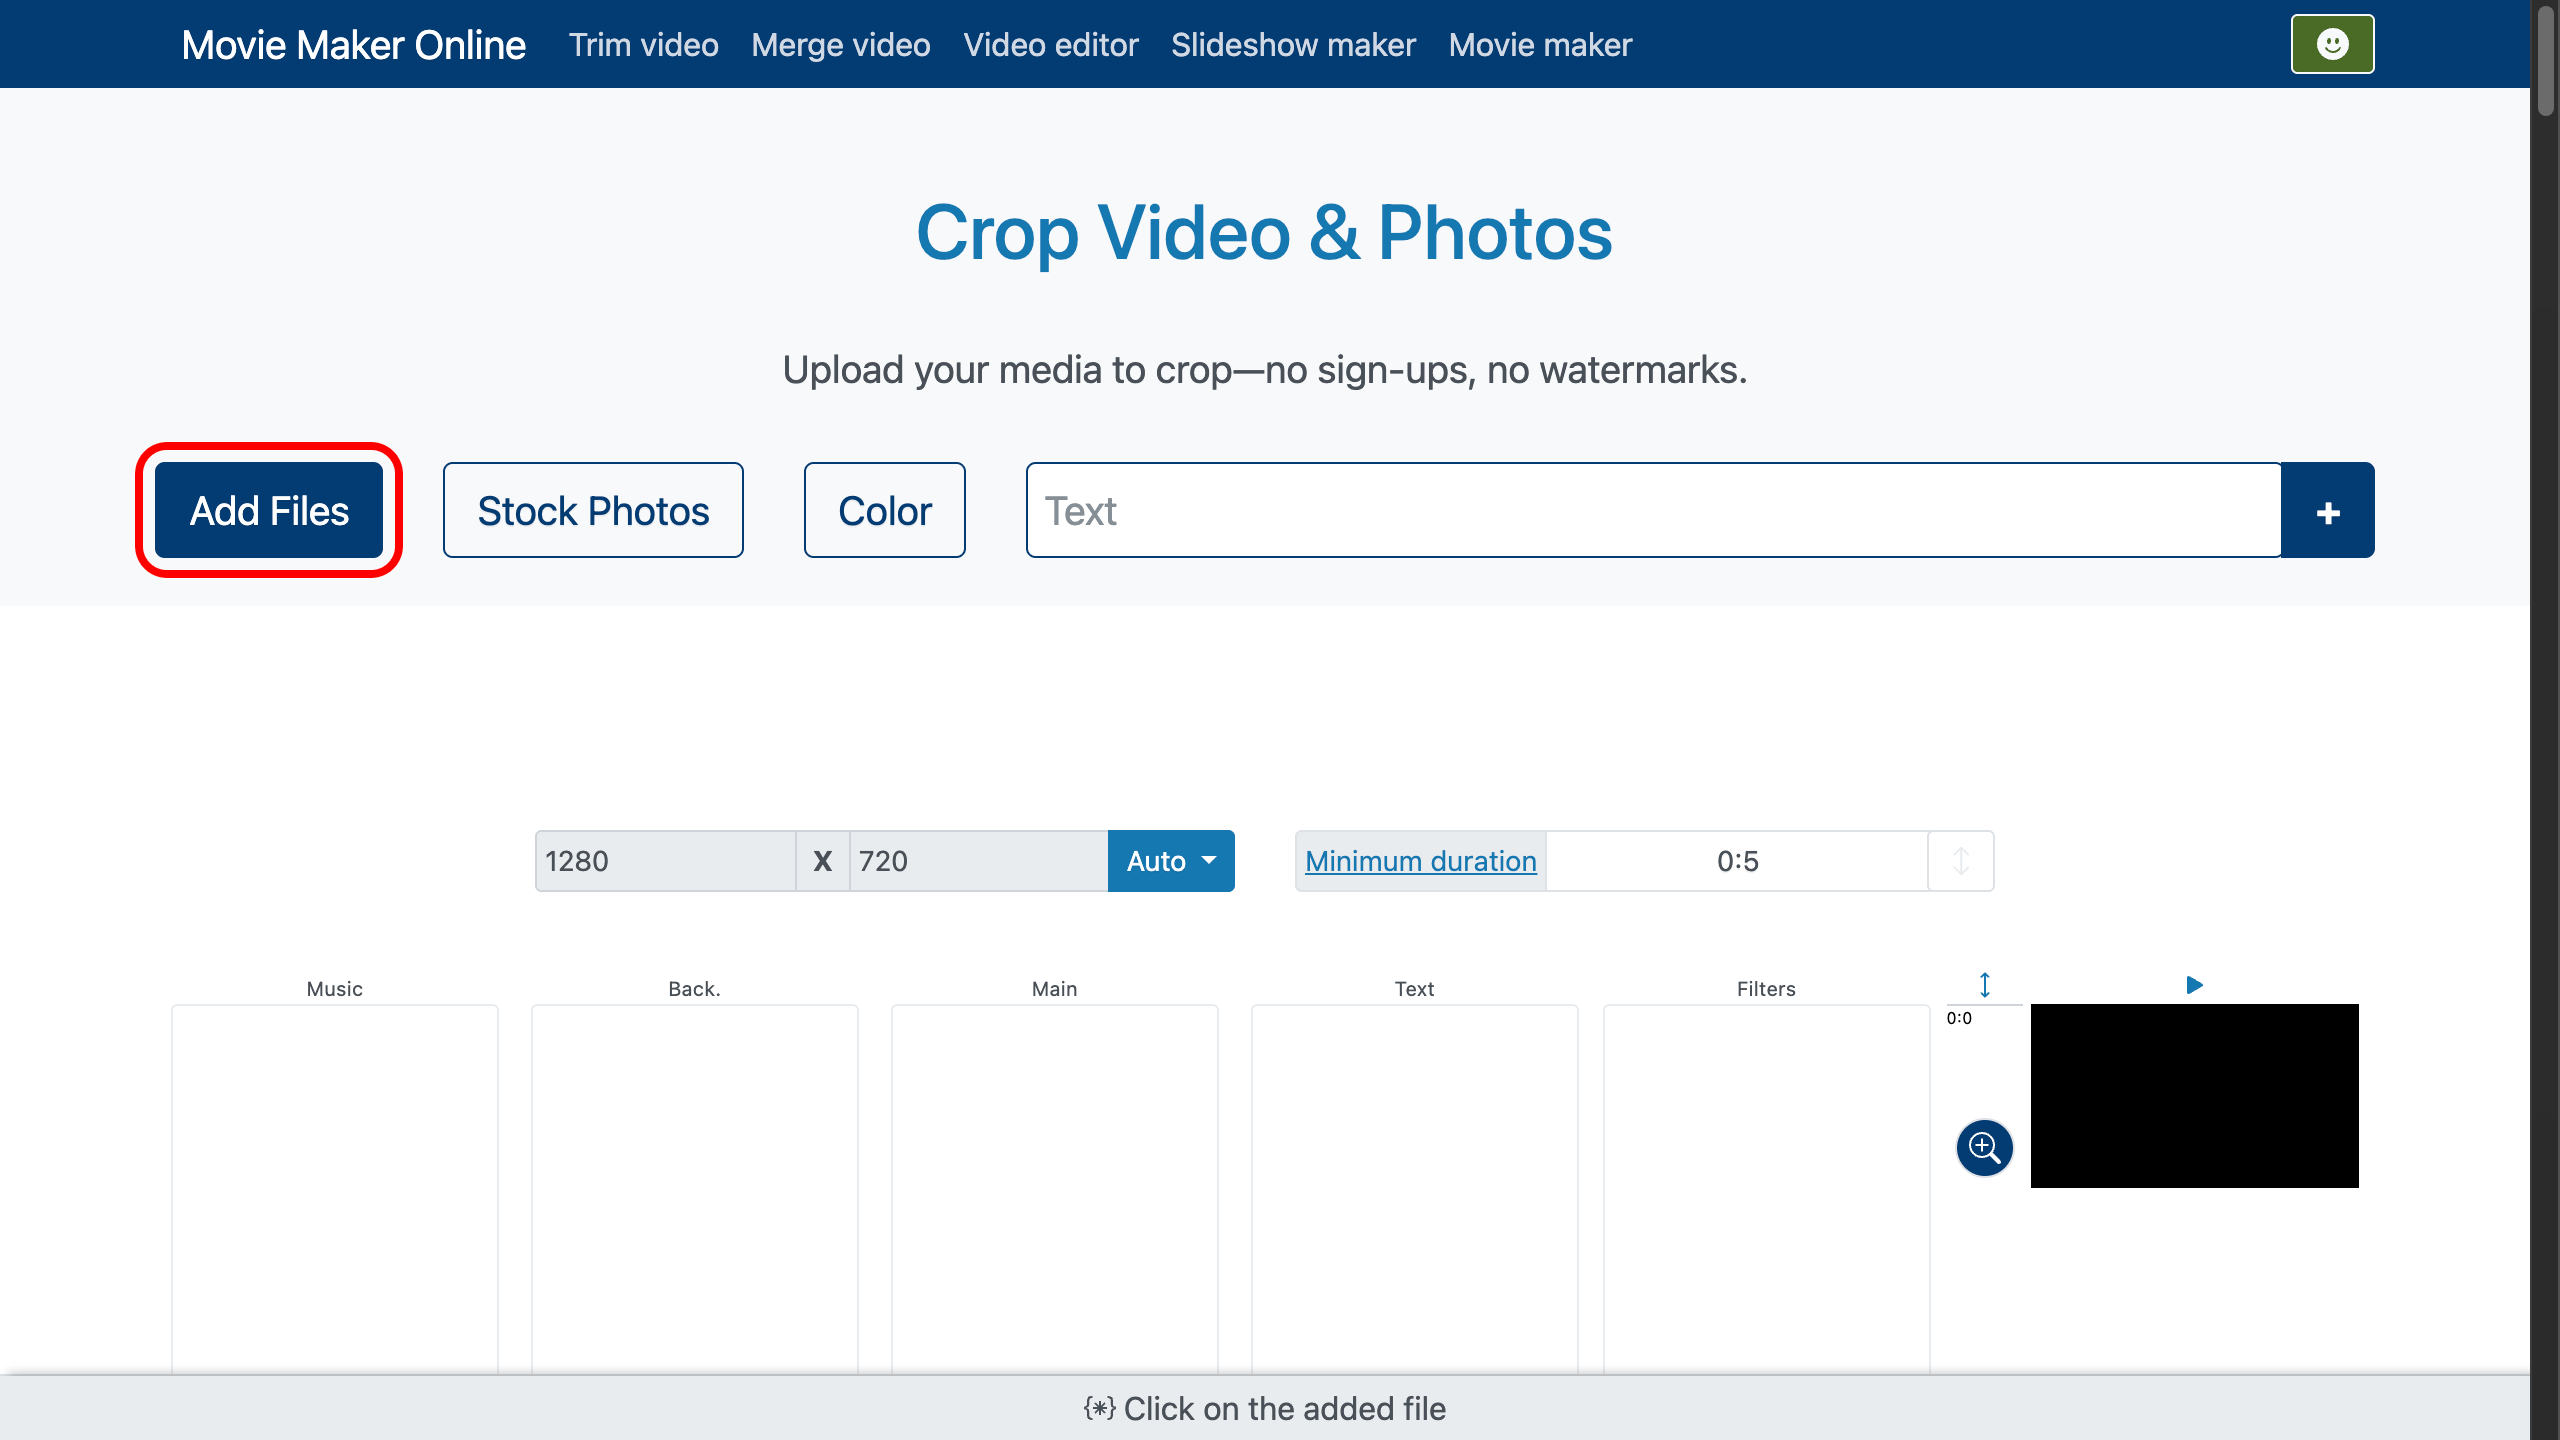
To add files for cropping, use the upload button or simply drag and drop them onto the page. (Quick is good.)
1. Choose the Final Video Format
Pick the aspect you need: Vertical or Horizontal. If you choose nothing, the editor uses Automatic:
- If you upload a single file, the original aspect ratio is preserved.
- If you upload several files, the editor automatically selects the most suitable format for the project.
It’s one decision fewer. (You’ll make the artistic ones.)
2. Cropping Video & Photo
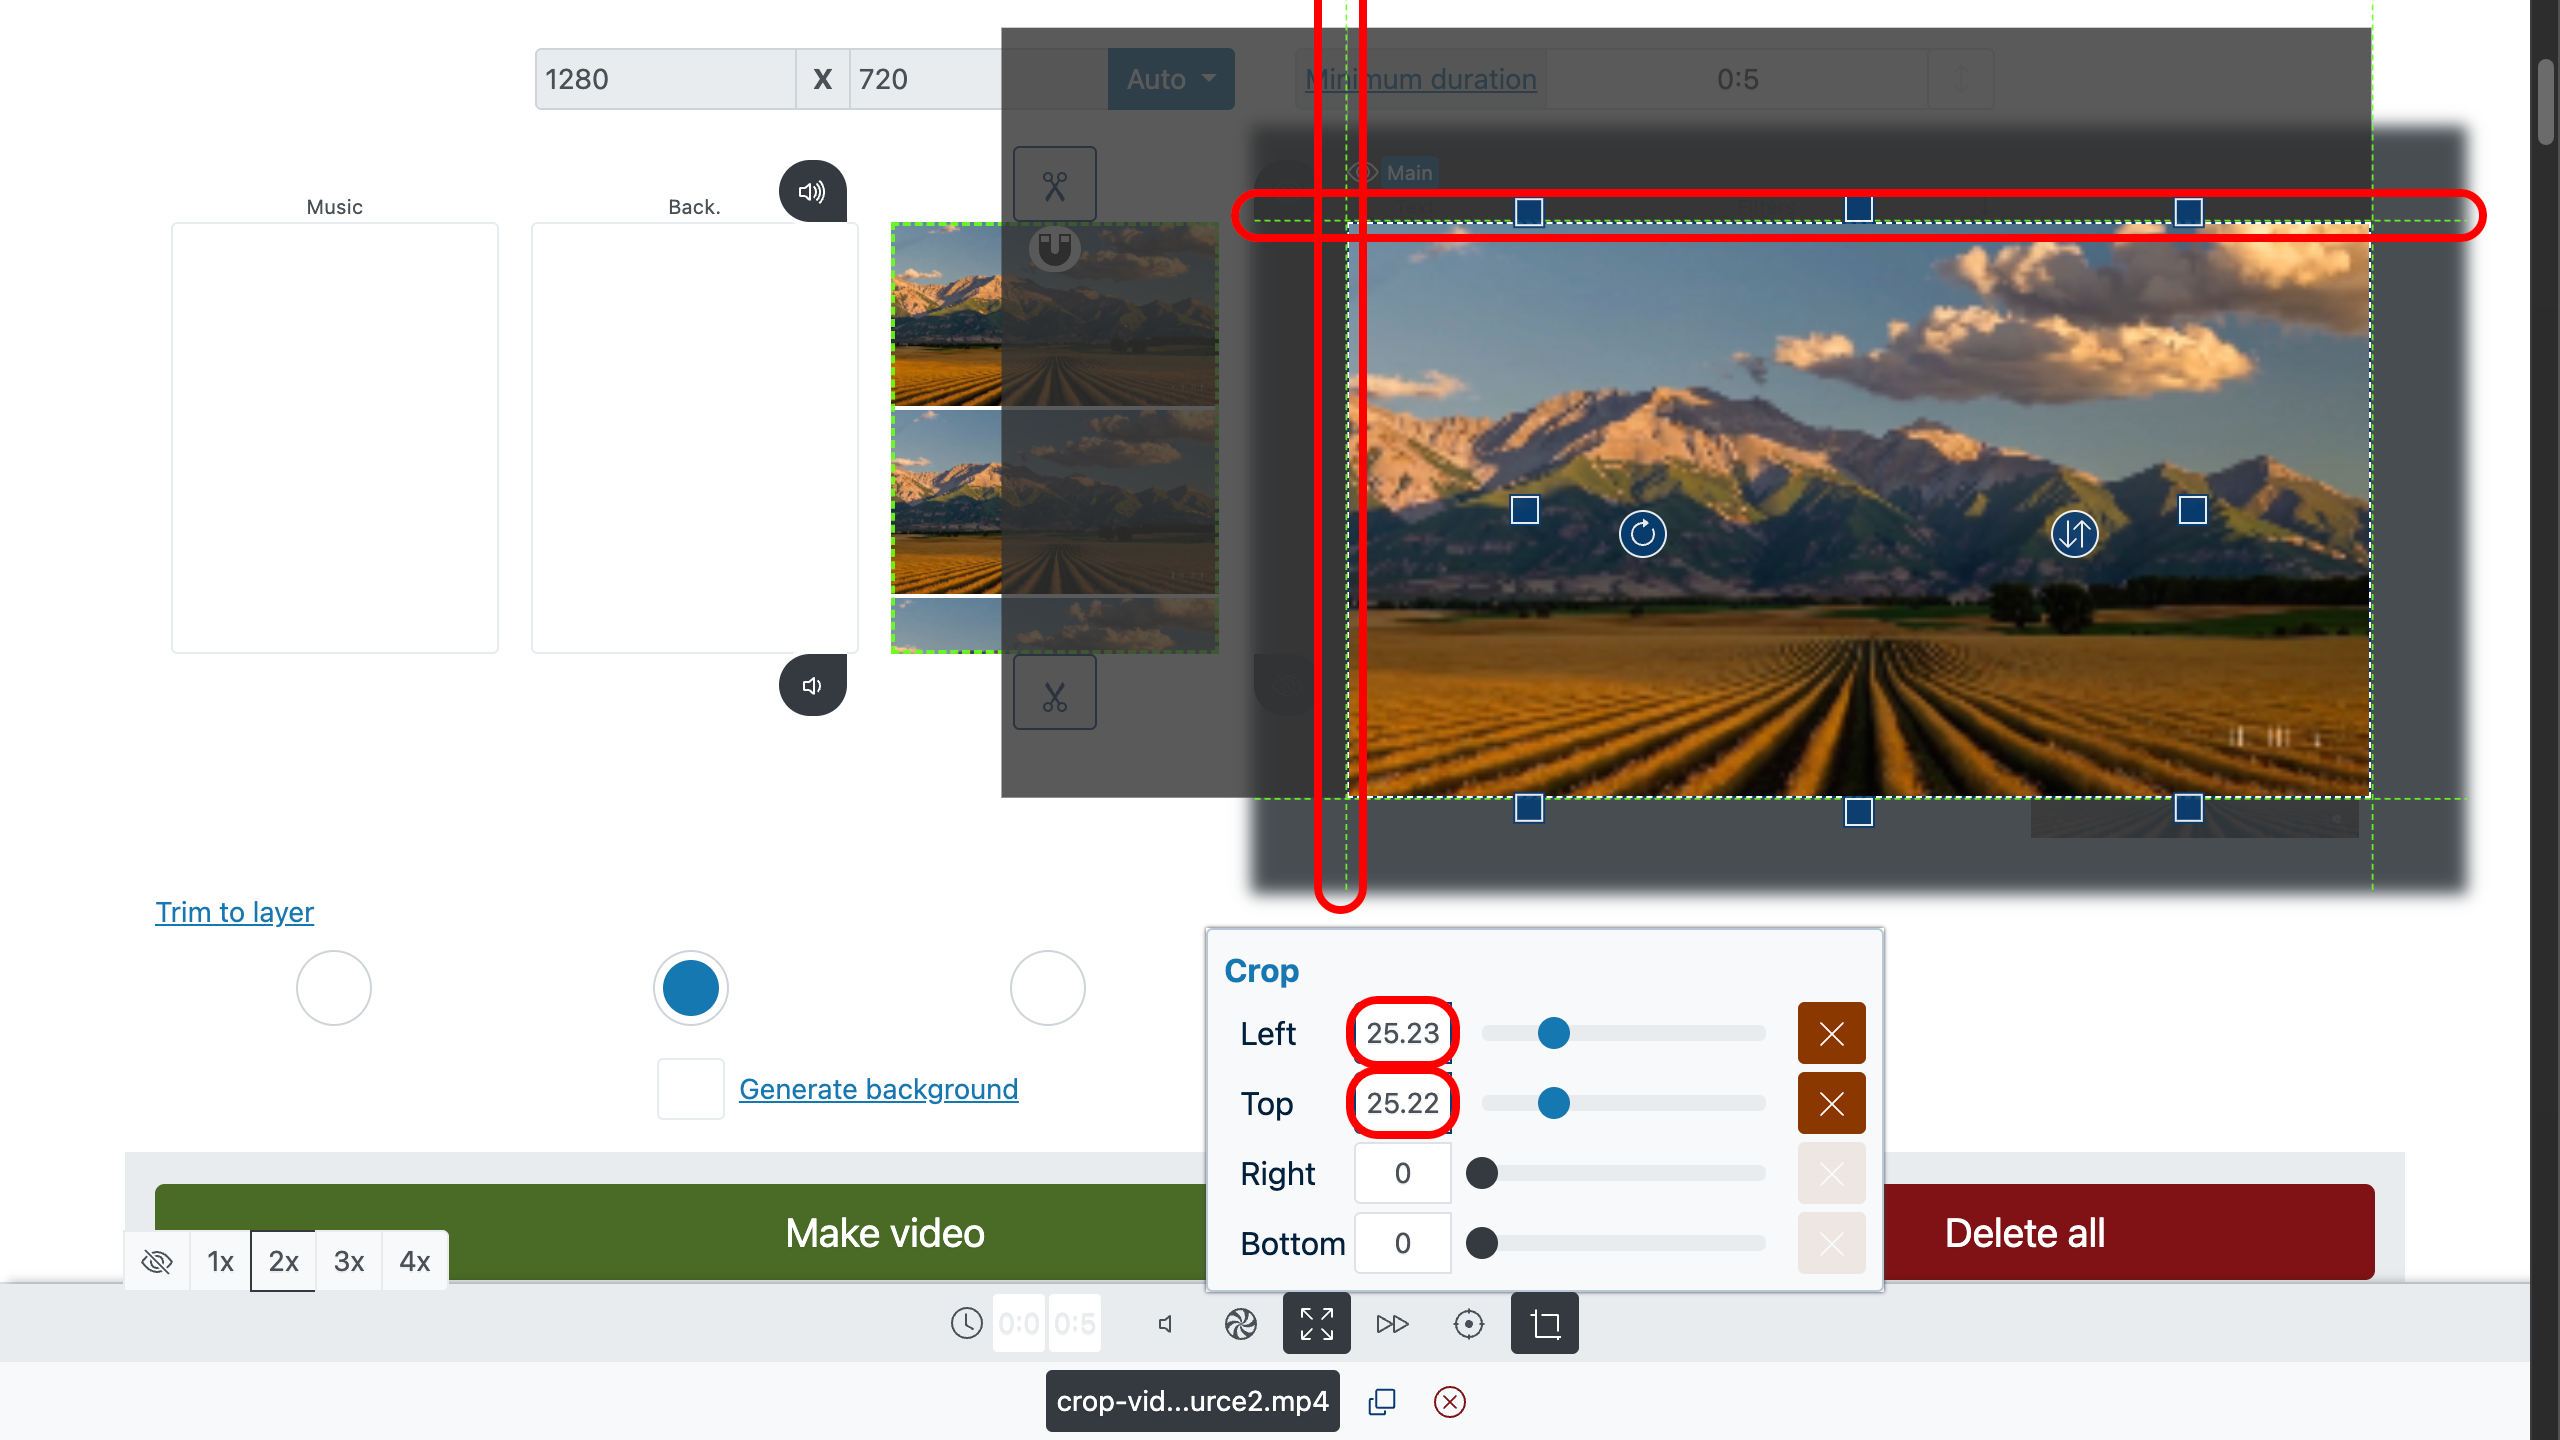
Select a file on the timeline to focus it. For cropping and positioning, open the frame editor with the button in the lower-left corner .
Key frame-editor controls
- — temporarily hide specific layers while aligning; this won’t affect the final export.
- — set the region your image/video should occupy.
- — rotate the selected region for precise alignment.
- — apply a controlled tilt within the region.
Now the fun part: use the dashed crop handles at the file’s edges to trim exactly what you don’t want. Drag those borders to crop edges . The content will automatically fit the region defined with .
Prefer numbers to nudging? Use the control panel:
- — enter exact coordinates and parameters for framing.
- — crop borders.
A tidy crop is like closing a door quietly. (Everyone notices, nobody complains.)
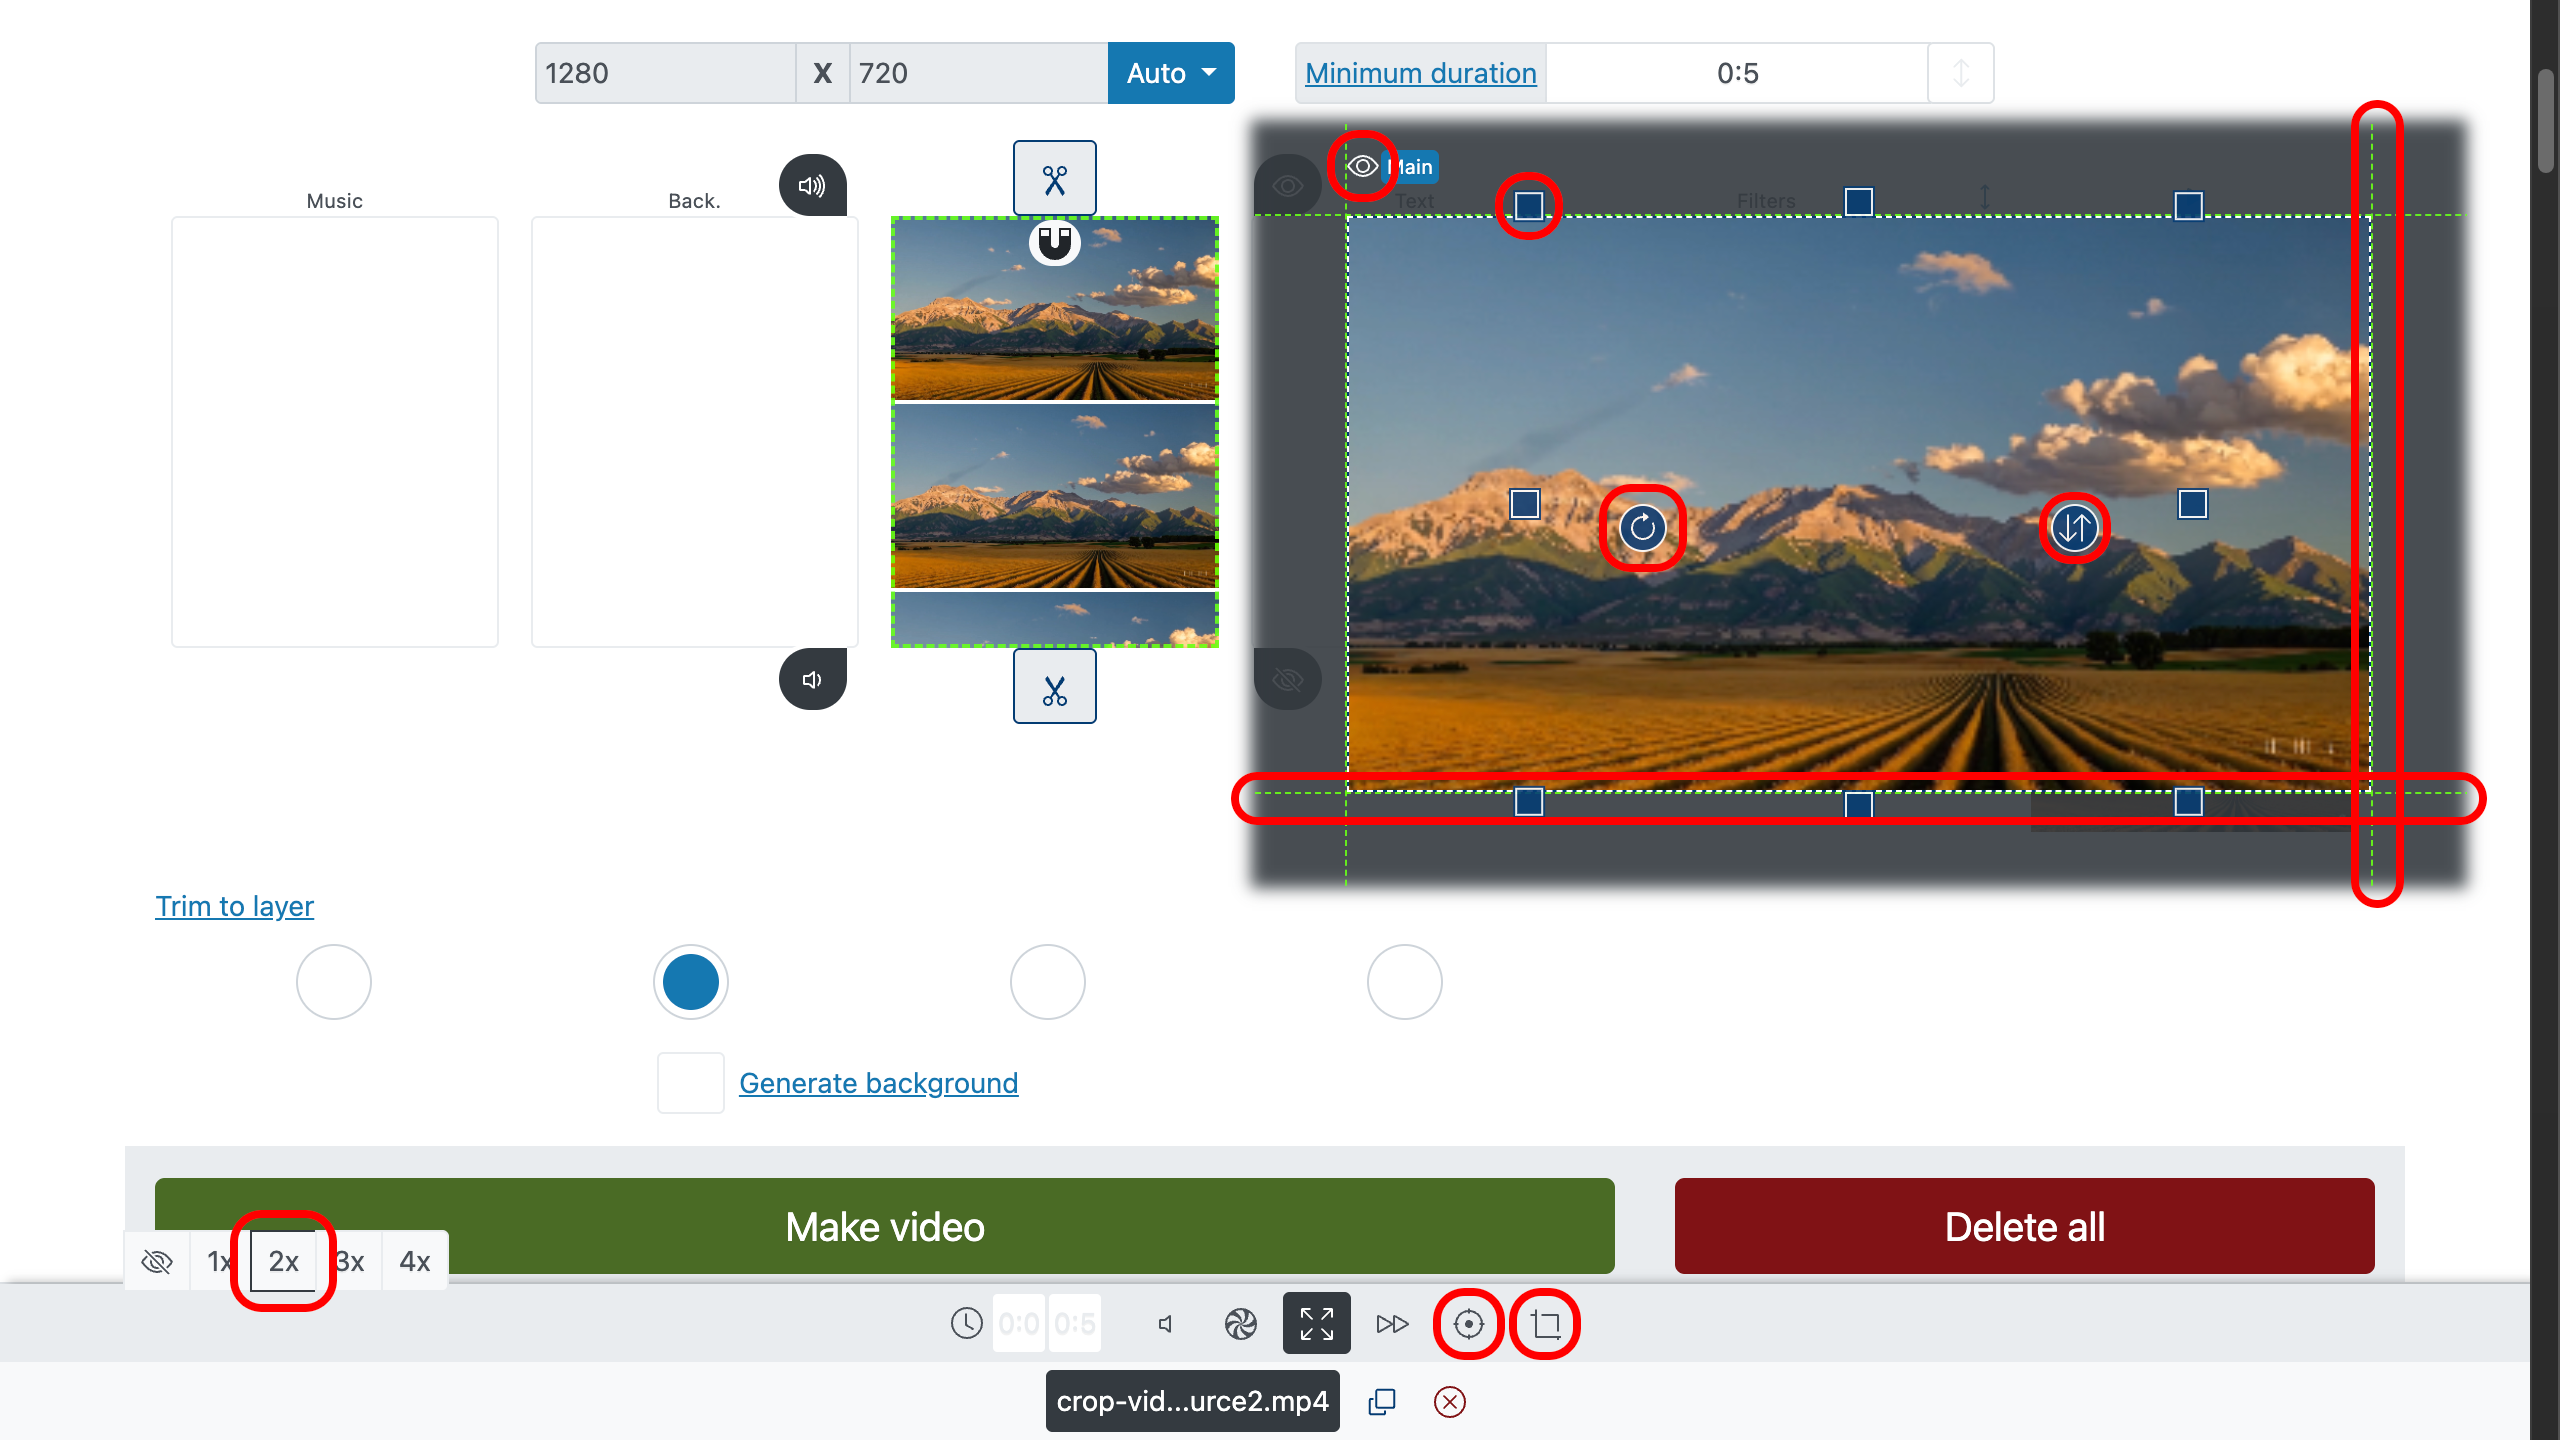
To center the landscape, trim a little from the left and the top so the midpoint aligns both vertically and horizontally.
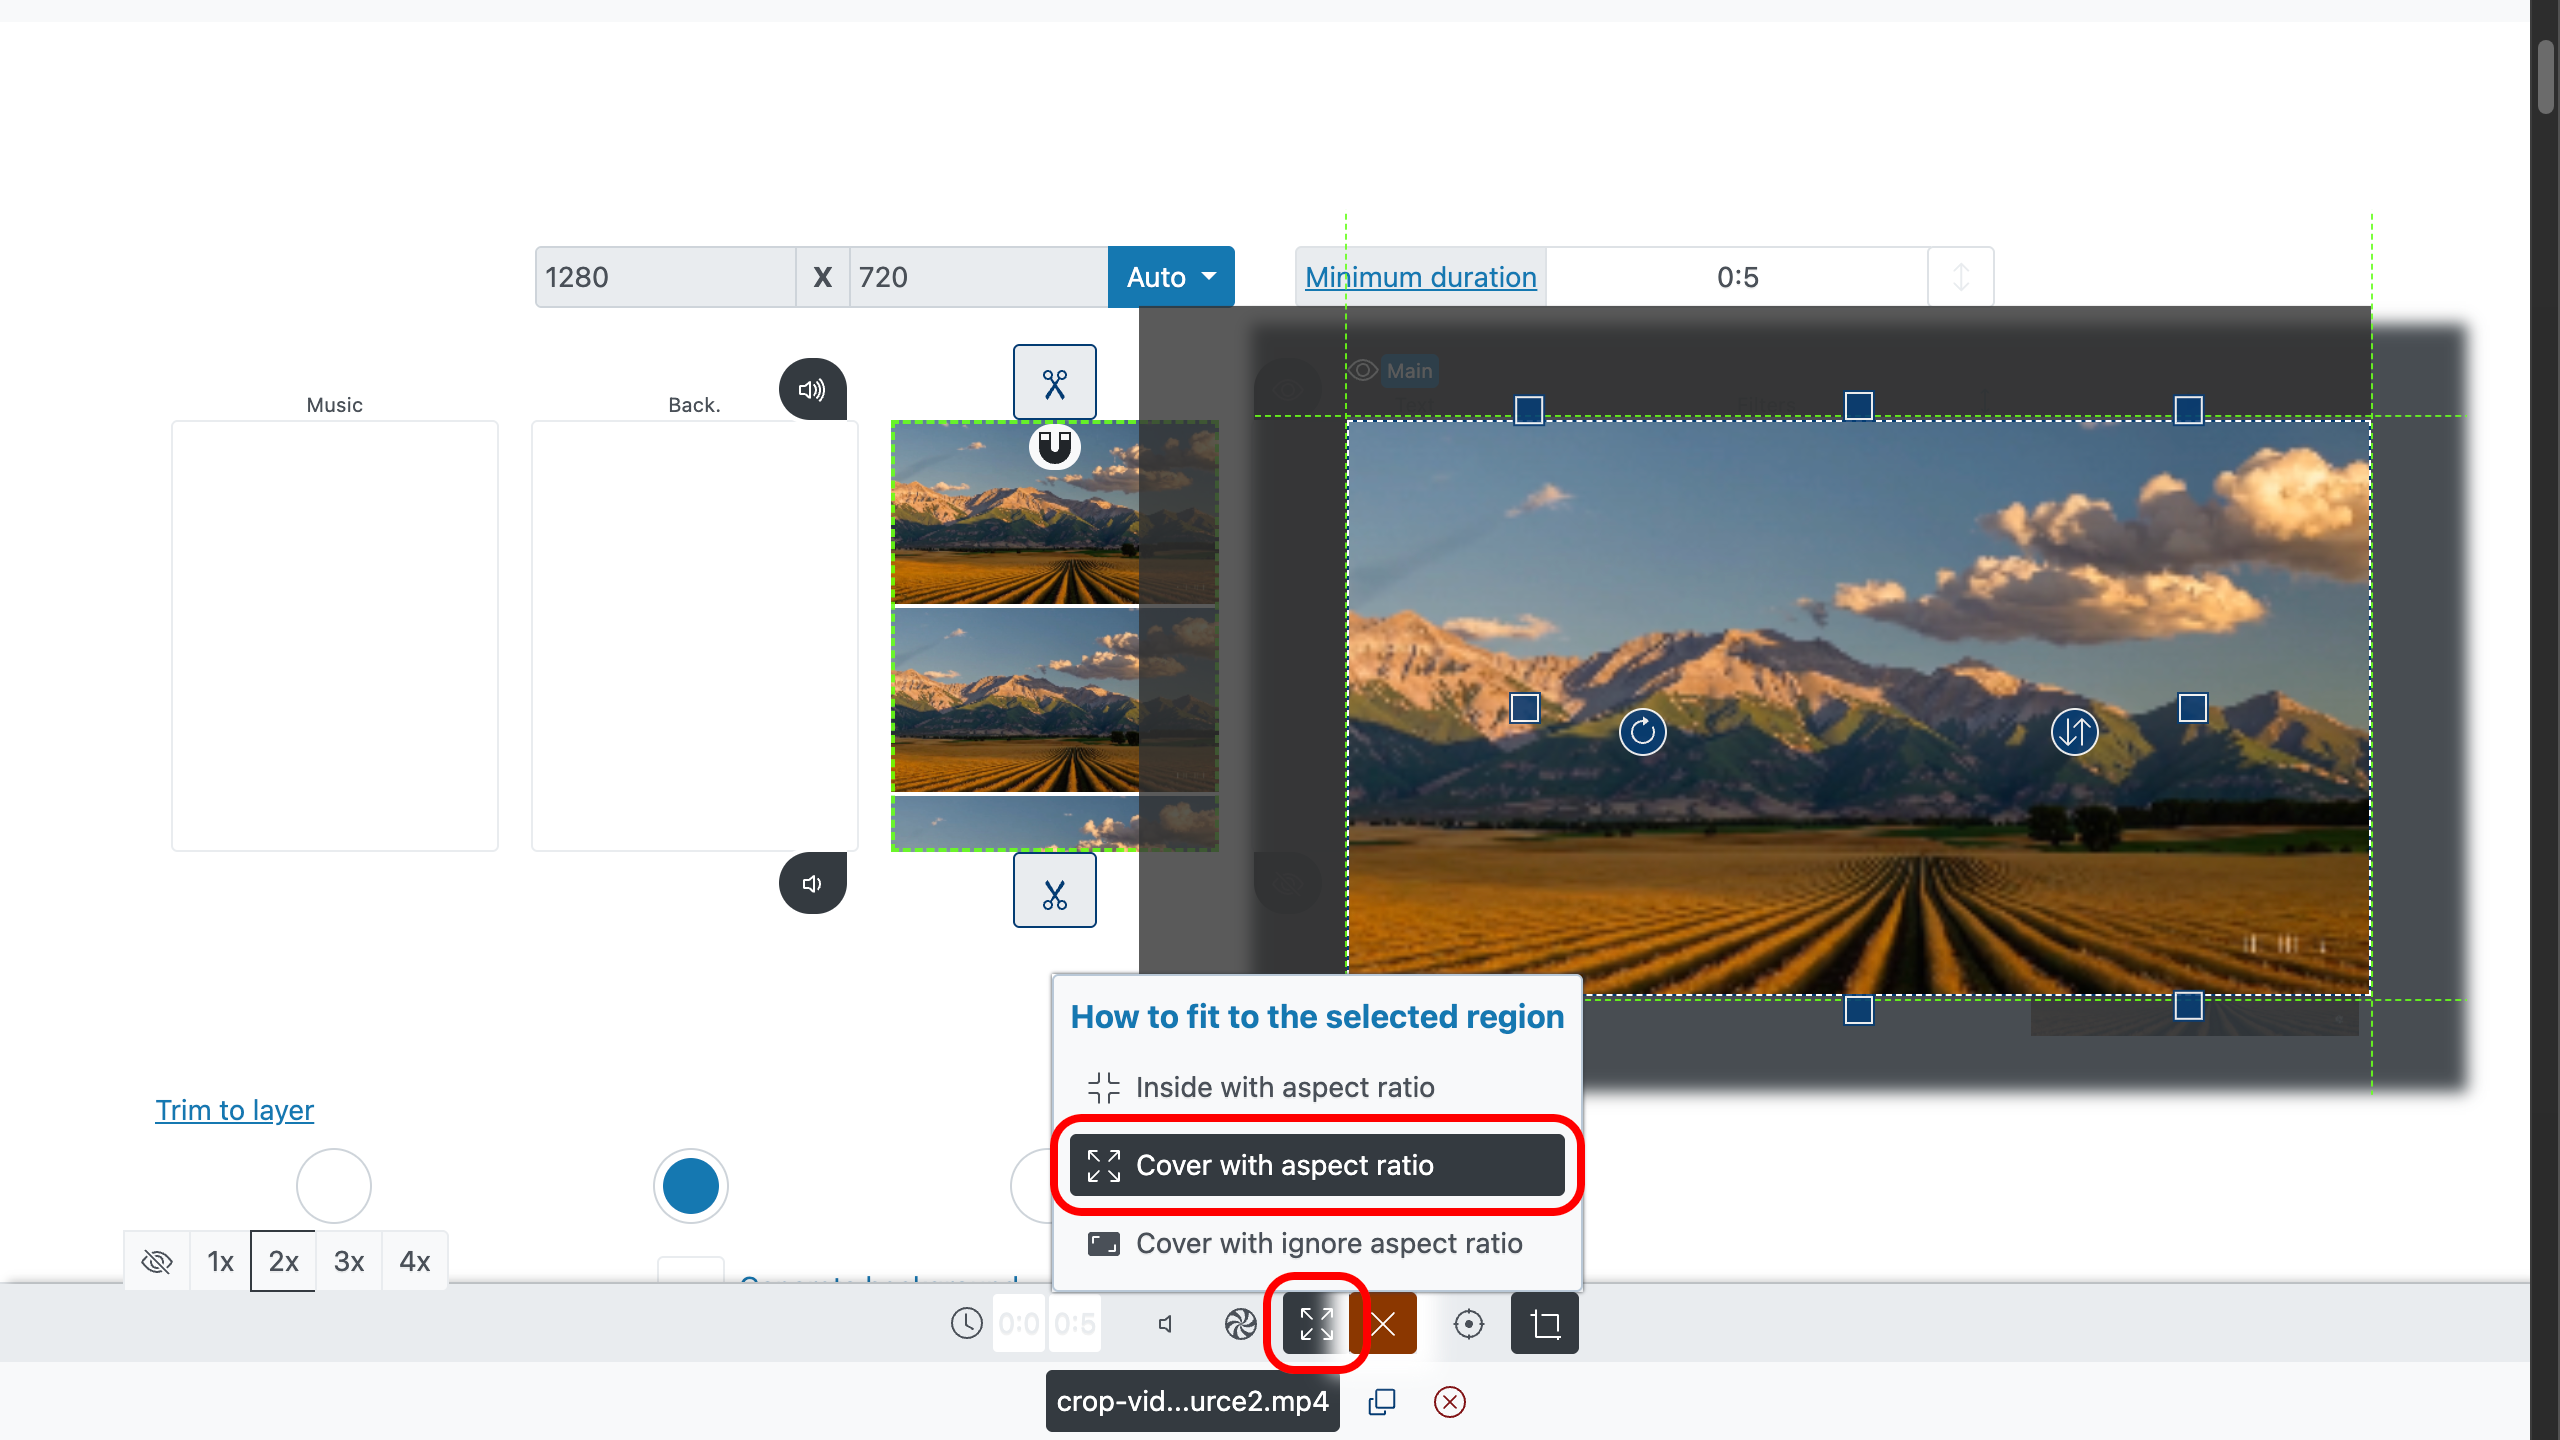
3. Fit, Fill, or Stretch the Frame
After cropping, decide how the content should occupy the chosen region using on the control panel:
- Fit (contain) — keeps the original aspect ratio. Nothing gets cut, even if the image is rotated. Empty space may appear as letterboxing/pillarboxing.
- Fill (cover) — fills the entire region without distortion; edges outside the region are cropped away. Great for full-bleed looks.
- Stretch — ignores aspect ratio to occupy the region completely. Use sparingly; it can distort. (Sometimes drama is useful.)
To fill the selected area without edge artifacts, choose “Fill (cover)” .
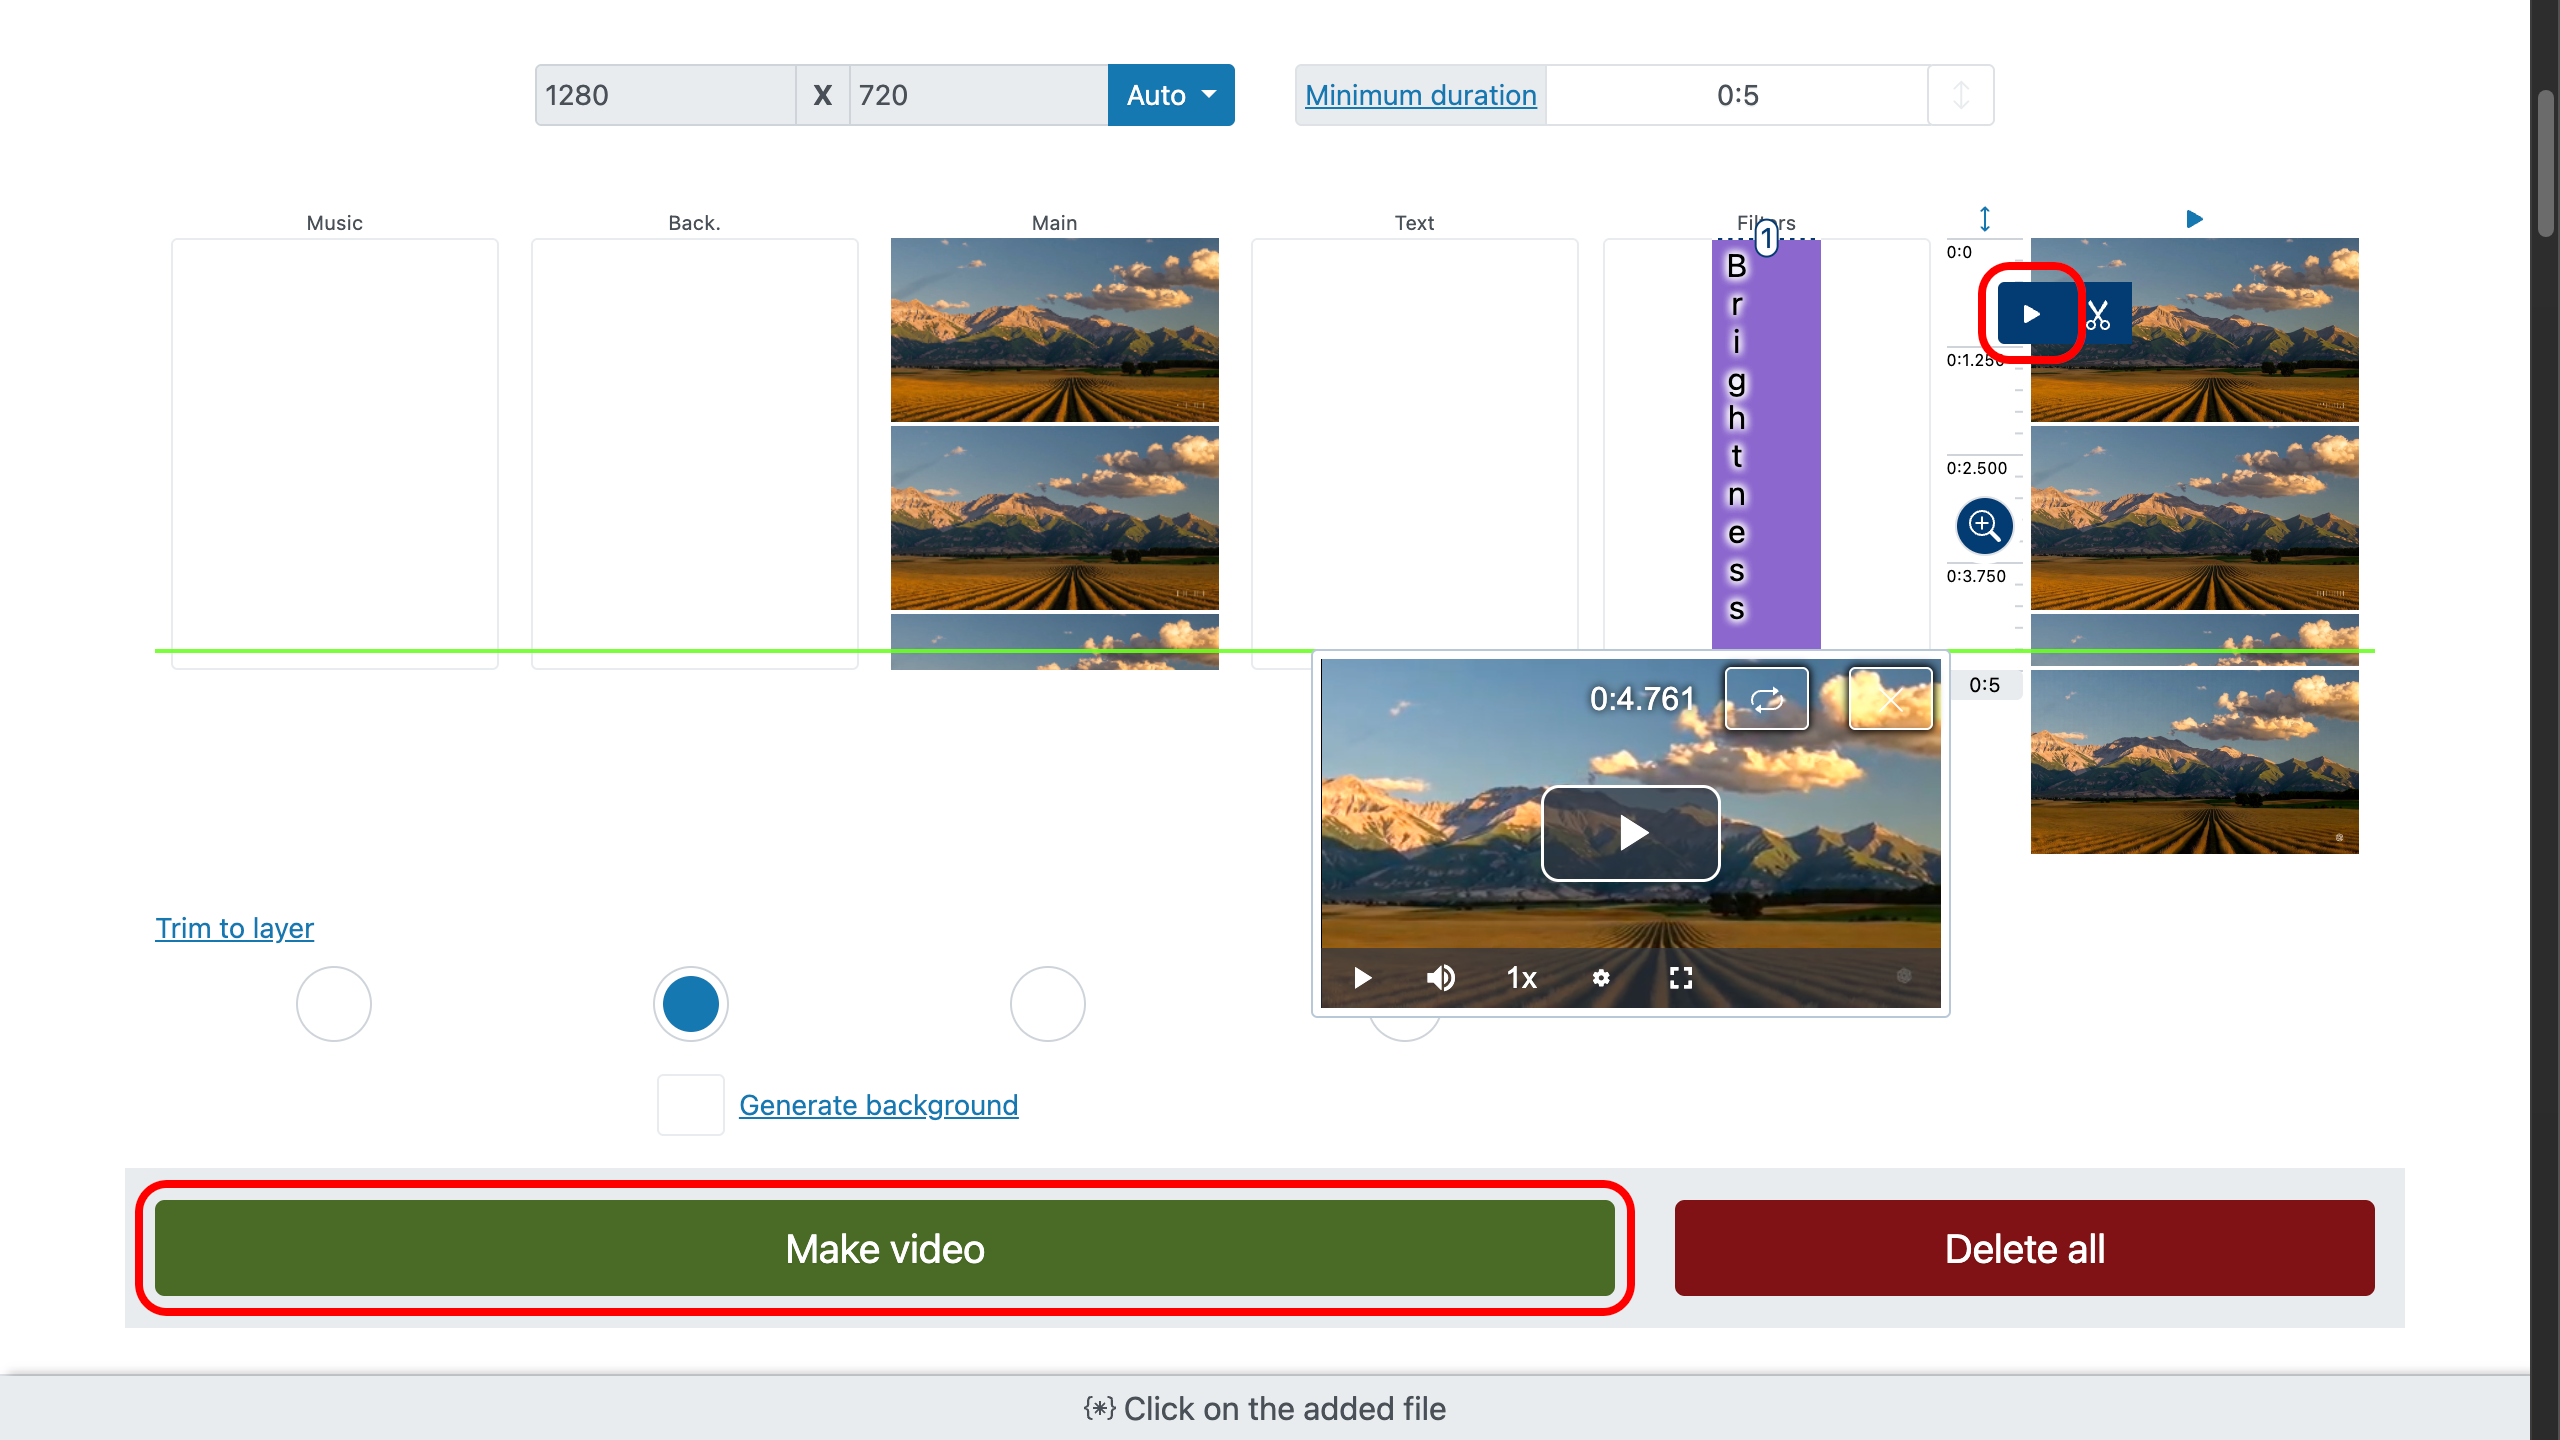
4. Preview and Create the Video
Click anywhere on the preview to play the moment you want to check. Skim, pause, nudge—verify that your cropping video choices and aspect settings are correct. When satisfied, start the creation step and the editor will render your cropped movie without watermarks.
One last glance never hurts—it often saves minutes. We noticed the video was a bit dark, so we applied the “Brightness” filter to lighten the image.
The result turned out more than solid.
Make Your Frame Striking: Quick Tips
Small corrections feel invisible; their absence does not. That’s the trick.


FAQ: Cropping, Formats, and More
Is this an online video cropper?
Yes. It runs in any modern browser on any device. No installs, no sign-ups, no watermarks.
Can I crop only the edges I choose?
Absolutely—drag the dashed handles or enter exact values via and confirm with .
Will my video distort?
Not if you use Fit or Fill with . Stretch can distort (by design), so use it only when you want that look.
Can I rotate or tilt during cropping?
Yes: use for rotation and for a controlled incline inside the selected region.
What if I don’t pick vertical or horizontal?
The editor uses Automatic: one file keeps its native aspect; multiple files trigger an automatic best-fit choice.
Which formats can I upload?
Any common audio/video/photo format. Bring what you have; the editor adapts.
Is this only for video?
It works for images too—perfect for reframing product photos or social posts.