Free Video Editor: Create Films Online Without Limits!
To continue offering you free features, our video service uses ads. Please disable your ad blocker to support us!
Want more? If you need more features than those available for free, or simply want to enjoy editing without ads, purchase a paid subscription.
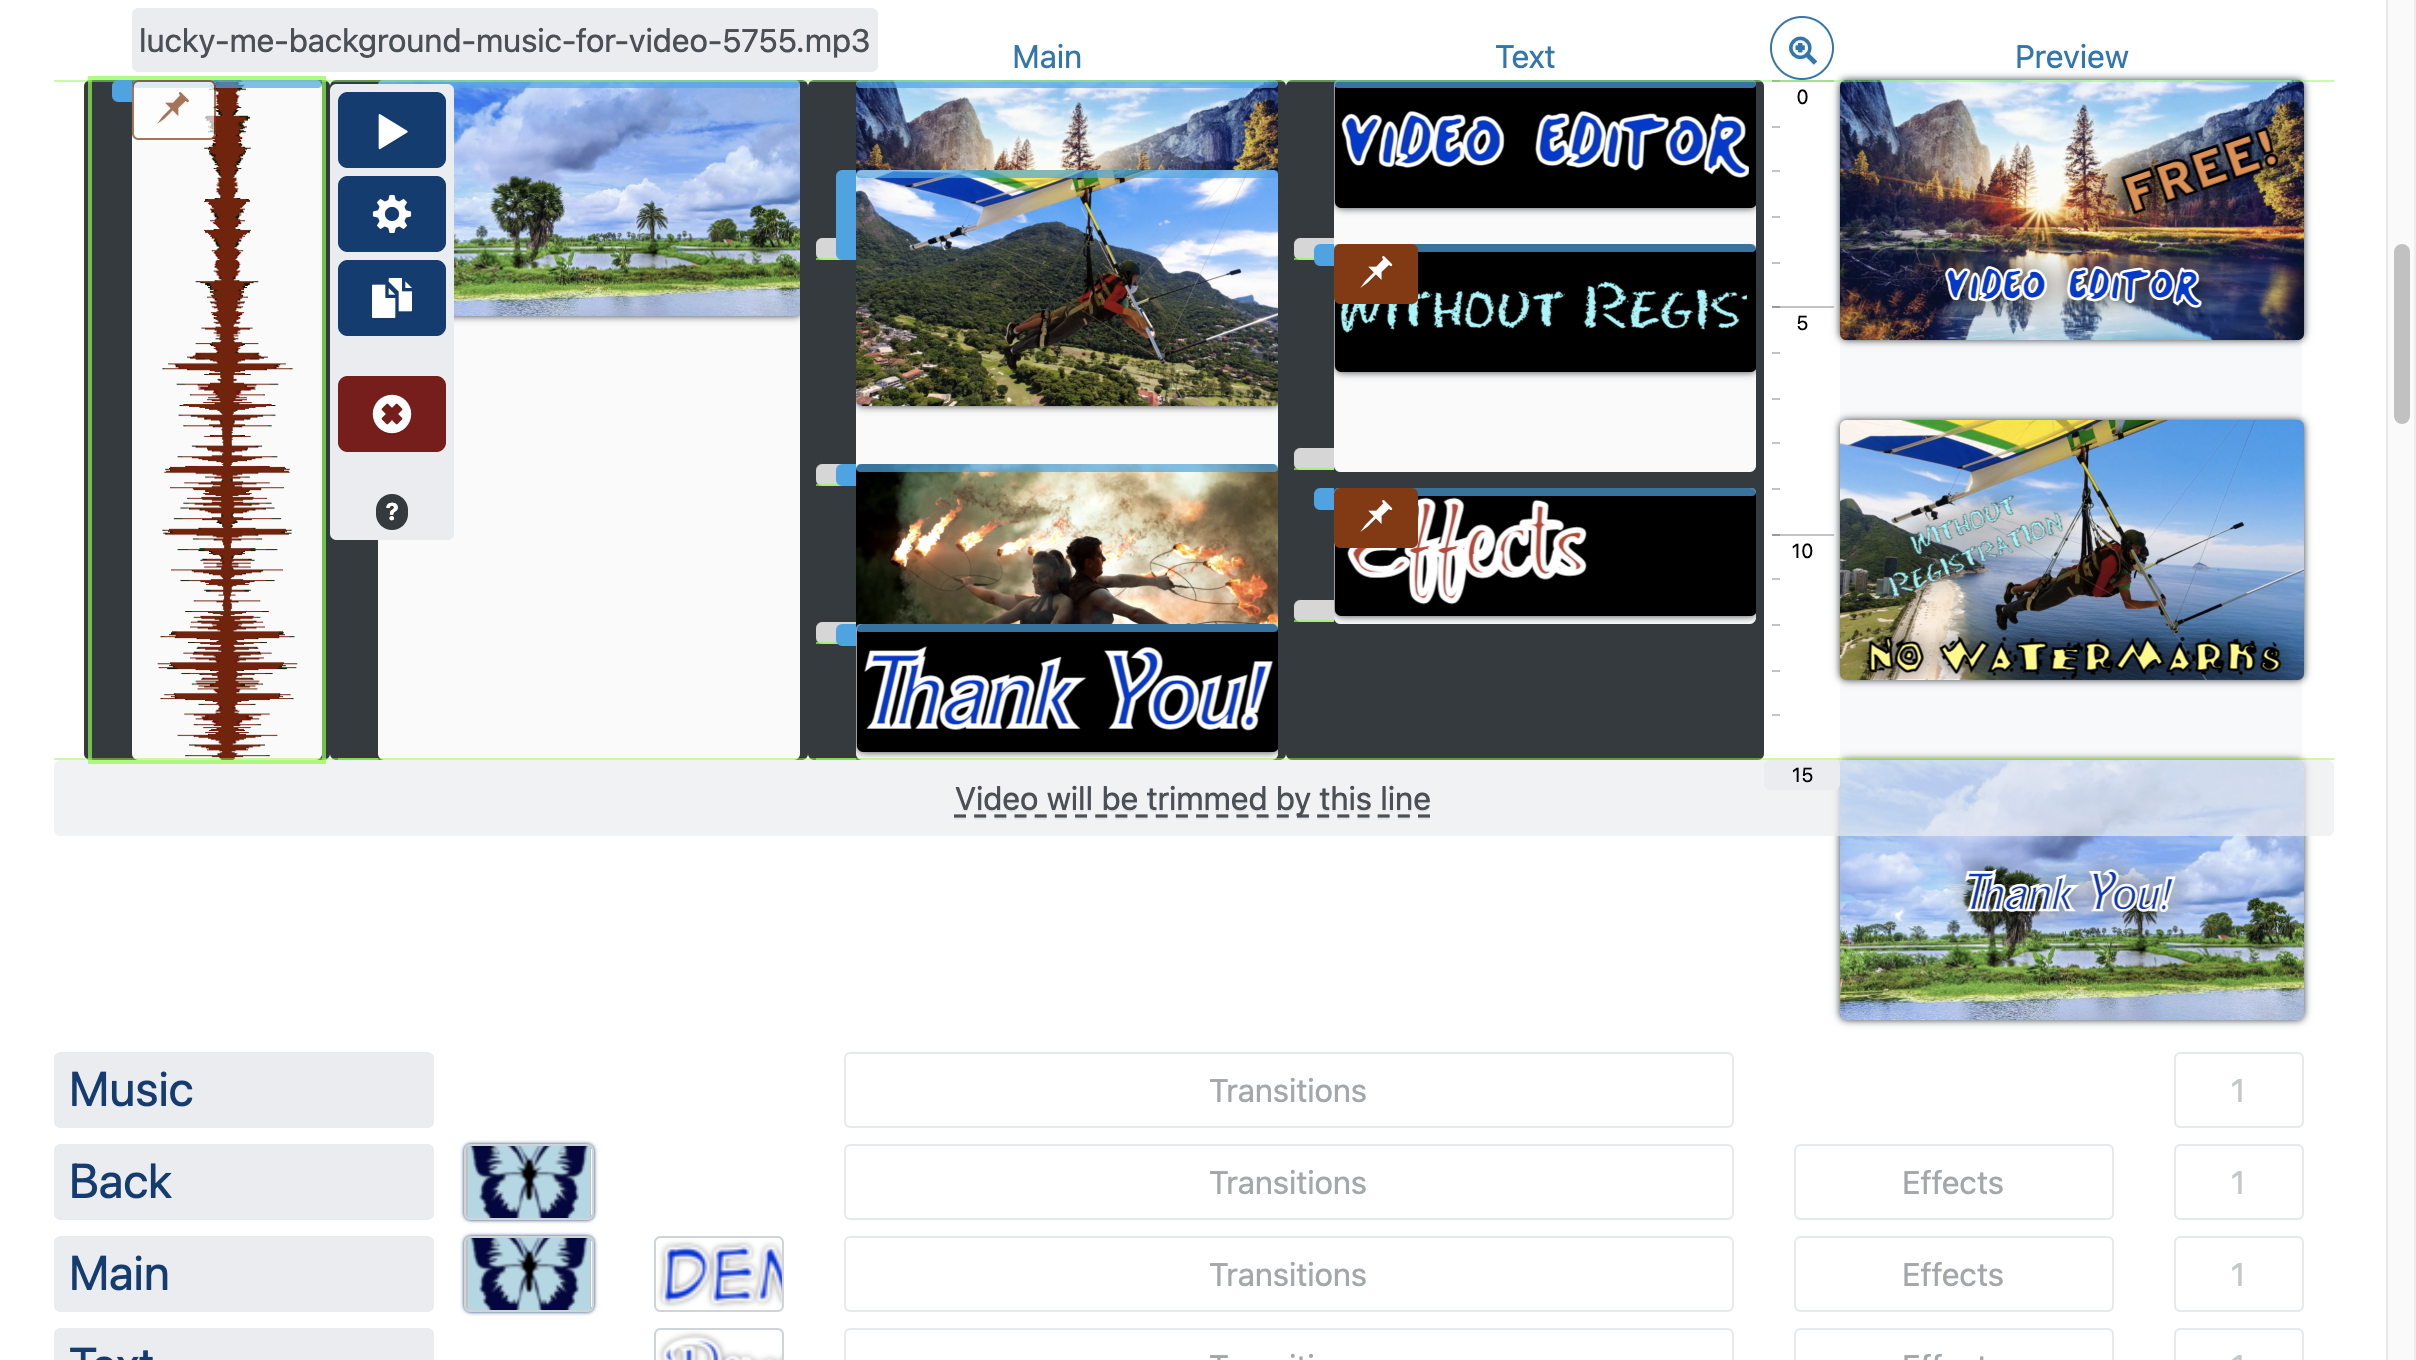
The state of the video editor to obtain the demo video is shown below.
Simple and Easy Video Editor: Video Editing that Your Smartphone Will Love!
At MovieMakerOnline.com, we have all the necessary features for video editing and montage, from classic to modern. But the main difference is the vertical orientation!
Forget about uncomfortable horizontal scrolling! Scrolling the tape from top to bottom is much more convenient and faster, especially on your favorite smartphones like iPhone and Android.
- File to the right – overlaps the file to the left in the frame. *It's like layers in Photoshop, only simpler!*
- File below – appears in the frame after the file above. *Create smooth transitions and captivating effects!*
Music, Background, Main, Text – these layer names are conditional and do not limit your imagination! Easily drag background images onto the text layer and text onto the background layer to create incredible combinations and transitions.
Intuitive tools:
- Maintain position: By default, files are arranged one after another. Disable this option to fix the file position on the timeline.
- Playback: Watch videos, GIF animations, and audio files.
- Edit: Trim, create collages and adjust parameters for each file.
- Copy: Create file copies to speed up editing.
- Duration: Set the display duration of images or text.
- Drag: Easily change the duration of files by dragging the edges.
- Delete: Remove unnecessary files with one click!
Video Editor without Registration: Start Creating Now!
All basic video editing and montage features are available online for free and without registration. No forms, no email addresses – just enter and create your videos!
And that's just the beginning! More information about features and video editing tutorials can be found in our reference center.


Video Editor without Watermarks: Your Video is Your Brand!
Your final video will not be ruined by watermarks or logos of our software. Create a good video, and it will be the best advertisement for us!
If you like our online video editor, tell your friends about it! Write to us and let us know what you think!
Online Video Editor without Download: All Video Editing Capabilities in Your Browser!
To create your own video clips with MovieMakerOnline.com, you need only an internet connection, a bit of inspiration, and a modern browser on any device: computer, tablet, or phone (iPhone and Android).
Forget about powerful computers! Professional video processing requires large computational power, which no phone or computer can provide.
That's why our video editor works online, without download or software installation.
- All uploaded files are stored for as long as needed to work on your project.
Video Editor with Transitions and Effects: Add Dynamics and Style!
For free, without registration and watermarks, you have access to:
- 60+ transitions and effects: make your videos more fluid and interesting!
- Motion animation: add dynamics and focus attention on important details.
- Scale animation: bring objects closer or further away to create a presence effect.
- Volume increase and decrease: make the sound more fluid and professional.
Almost Unlimited Possibilities (And We Are Working on Them!)
We are constantly working to improve and expand the capabilities of the editor. Follow updates to learn more! Detailed information about limitations can always be found in the editor after starting work.
Files: Upload Large Videos Without Problems!
The free version allows uploading files up to 2 GB in size.
Brief list of supported formats: Our video editor understands many more formats than listed below!
Video File Formats
- Mp4, m2v, m4v, avi, mov, wmv, mts, 3gp, mpeg, flv, vob, mod, mkv, webm, asf, vid, ts, etc.
Graphic Formats
- Jpeg, jp2, gif, dib, bmp, tiff, png, nef, tga, heic, psd, etc.
Audio Formats
- Mp3, amr, mp2, wav, wma, aac, m4a, 3ga, ogg, aiff, aifc, flac, etc.
Format: Create Videos in High Quality!
In the free version, you can create videos in HD and Full HD formats in Mp4 format, which is ideal for TikTok, YouTube, Instagram, Facebook, VKontakte, and almost all modern programs and devices.
Duration: Create Full and Captivating Clips!
In the free version, you can create videos with a duration of up to 30 minutes.